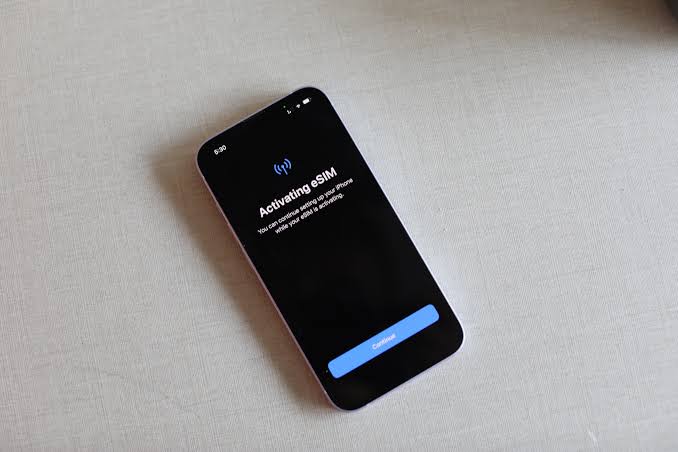
Getting started with eSIM might seem tricky, but don’t worry! I help people switch to e SIM USA every day, and I’ll walk you through the process step by step. Think of it like downloading a new app – it’s easier than you might think.
Step #1: Check Your Device Compatibility
Before diving in, let’s make sure your device can use eSIM:
· For iPhone: iPhone XR or newer models
· For Android: Most flagship phones from 2020 onwards
· For tablets: Recent iPads and some Android tablets
· For watches: Apple Watch Series 3 or newer, some Samsung watches
· For laptops: Select models with cellular connectivity
Quick Tip: Go to your phone’s settings and look for “Mobile Data” or “Cellular.” If you see an “Add eSIM” option, you’re good to go!
Step #2: Choose Your Carrier and Plan
Here’s how to pick the right eSIM plan:
· Contact your current carrier about eSIM options
· Compare plans from different providers online
· Look for special travel packages if you’re going abroad
· Check if your current number can be transferred
· Consider dual-SIM setup if you need two numbers
Pro Insight: Many carriers now offer trial plans through eSIM. It’s a great way to test coverage in your area before committing to a long-term plan.
Step #3: Download and Activate Your eSIM
The fun part – getting your eSIM up and running:
· Scan the QR code from your carrier (most common method)
· Use your carrier’s mobile app to activate
· Enter the activation code manually if provided
· Follow the on-screen setup instructions
· Verify your identity when prompted
Real Example: Last week, I helped a customer activate their eSIM in under 5 minutes using just a QR code. It’s really that simple!
Step #4: Manage Your eSIM Settings
Once activated, here’s how to make the most of your eSIM:
· Label your different plans (like “Work” or “Travel”)
· Set your default line for calls and data
· Configure which line to use for specific contacts
· Set up data roaming preferences
· Enable or disable lines as needed
Time-Saving Tip: Name your eSIM plans clearly to avoid confusion, especially if you’re using multiple lines.
Step #5: Troubleshooting and Maintenance
Keep your eSIM running smoothly with these tips:
· Regularly check for carrier settings updates
· Keep your device’s software up to date
· Know how to reset your eSIM if needed
· Save your QR code or activation details
· Monitor data usage across different plans
Bonus Tips for Power Users:
· Store backup QR codes in a secure place
· Take screenshots of important settings
· Keep carrier contact information handy
· Note down any plan-specific settings
· Save activation instructions for quick reference
Remember: If you’re switching your main number to eSIM, do it when you have time to test everything. While the process is usually smooth, it’s better to handle any potential hiccups when you’re not in a rush.
The best part about eSIM? Once you’ve set it up, it’s actually easier to manage than a physical SIM. No more tiny cards to lose or special tools to carry around. Just digital simplicity at its finest!


