Mold: the invisible threat that can cause significant damage. That persistent musty odor in your laundry room or the subtle discoloration on your wall might seem like minor irritations, but they could indicate a much larger issue hidden from view. More than just an unsightly presence, mold is a covert adversary that flourishes in dim, moist environments, jeopardizing both your well-being and the structural soundness of your residence.
Consequently, mold remediation isn’t a quick solution; it’s a comprehensive process. An effective mold removal strategy begins long before any demolition and concludes only when the air you breathe is verified as clean. This guide will walk you through the entire process, from the initial inspection to the final clearance testing, outlining the meticulous steps employed by experienced professionals such as Risk Free Serv Water Damage Repair San Diego.
Step 1: The Discovery Phase – Why Every Mold Fix Starts with Inspection
No reputable mold remediation ever starts with demolition. That’s because real solutions begin with real data. Mold thrives in damp, hidden areas, behind drywall, under flooring, and inside HVAC ducts. You can’t fix what you can’t find, and guessing won’t cut it. That’s why certified inspectors rely on state-of-the-art tools to assess the situation thoroughly before anyone even touches a crowbar.
Moisture meters help determine if materials like drywall or wood are retaining water. Infrared thermal imaging cameras can show where temperature changes hint at hidden leaks. Air sampling tests reveal what spores are floating through your air, and surface swabs confirm what type of mold is present.
This phase is crucial for avoiding overkill or under-treatment. It informs a precise plan, tailored to your home’s layout, your mold type, and the underlying cause. Without this initial investigation, remediation is like treating symptoms without diagnosing the disease. That’s why trained professionals, such as those at the http://theinspectorscompany.com website, prioritize deep inspection before any other step in the process.
Step 2: The Blueprint – Creating a Smart Mold Remediation Plan
Once the full scope is understood, a strategy is designed. This is where science meets structure. The plan outlines what materials need removed, how containment will be handled, what protective equipment is required, and which industrial tools will be deployed.
Professional remediation teams draft plans that minimize disturbance while maximizing effectiveness. They factor in square footage, HVAC systems, affected materials, and occupancy. Containment zones are mapped to ensure mold spores don’t spread to clean areas of your home during the process.
At this stage, homeowners receive a clear explanation of the project timeline, safety protocols, and cost. There’s no guesswork, just a clear, informed game plan.
Step 3: The Takedown – Containment and Targeted Removal
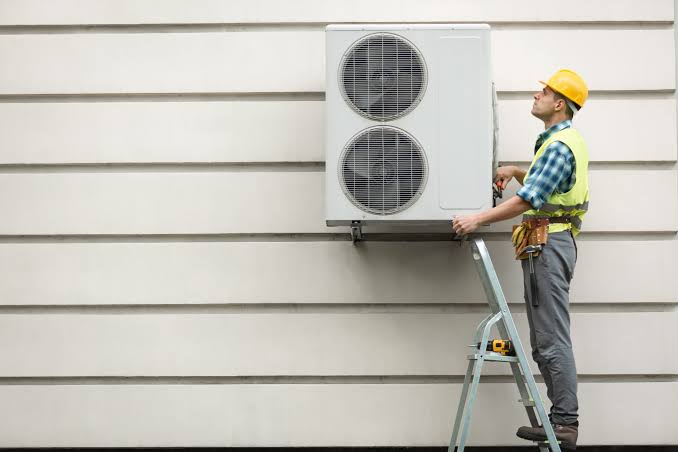
Now comes the visible part. The containment barriers go up, and remediation technicians get to work. Negative air pressure systems are installed to direct mold spores outside. HEPA filters run continuously to trap microscopic particles in the air. These measures aren’t just to protect your home, they’re to protect you.
Materials that are too far gone, like mold-infested drywall or insulation, are safely removed. Workers wear full protective gear, and waste is bagged and disposed of according to strict environmental guidelines. Surfaces are scrubbed and vacuumed with HEPA-grade equipment, and antimicrobial treatments are applied to prevent regrowth.
But here’s what separates professional remediation from DIY hacks: precision. The goal isn’t to bleach everything in sight; it’s to surgically remove contaminated material while preserving the structure and stability of the home. Every square inch is inspected to ensure mold is eliminated at the root.
Step 4: The Prevention – Drying, Dehumidifying, and Air Scrubbing
Removing visible mold is only part of the solution. Mold spores can stay suspended in the air long after materials are replaced. That’s why the next phase focuses on air quality and moisture control.
Industrial-strength dehumidifiers reduce indoor humidity to levels where mold can’t thrive, usually below 50%. Air scrubbers equipped with HEPA filters work overtime, cycling through hundreds of cubic feet of air every minute, pulling spores, dust, and debris out of circulation.
This isn’t just cleanup, it’s stabilization. By thoroughly drying the space and purifying the air, the remediation team ensures that mold doesn’t return the moment they pack up. It also gives homeowners peace of mind that the indoor environment is truly safe to reoccupy.
Step 5: The Sign-Off – Final Testing and Peace of Mind
After all the work is done, how do you know it worked? That’s where post-remediation verification comes in. Third-party inspectors (or the original inspection team, depending on your arrangement) conduct final air and surface tests to confirm that mold levels are back within safe limits.
This final step isn’t just about checking a box. It’s a critical validation that the job was done right. You’ll get a written report showing that your home has passed inspection, often required for insurance purposes or when selling the property.
For many homeowners, this final clearance brings more than documentation; it brings closure. After days or weeks of disruption, you can finally breathe easy, knowing your home is mold-free, structurally sound, and safe for your family.
A Mold-Free Home Starts with the Right Process
It’s easy to treat mold as just another home repair project, but the truth is, it’s a health issue disguised as a property issue. That’s why rushing into repairs or using surface-level solutions often backfires. Without a structured approach, from inspection to final clearance, mold will almost certainly return.
The most successful remediation projects follow the same blueprint: identify, plan, contain, clean, prevent, and confirm. Every phase builds on the last, ensuring not just a cosmetic fix but a true resolution.
If you’ve noticed the signs, musty smells, visible patches, and recent leaks, it’s worth calling in the experts who follow this proven process from start to finish. Because when it comes to mold, doing it right the first time is the only way to truly protect your home and your health.