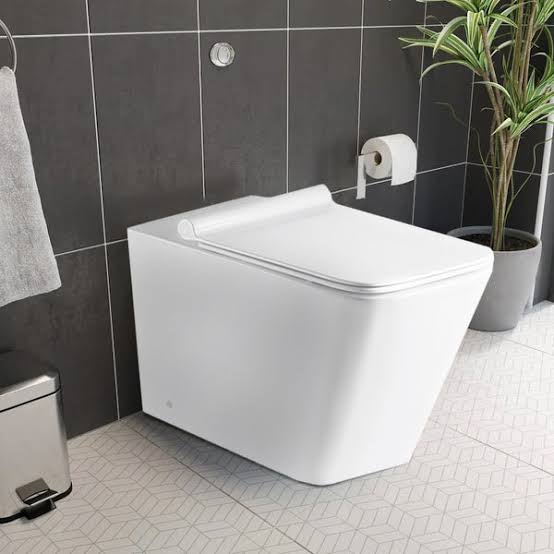
If you’re considering installing a back-to-wall toilet in your bathroom, you’ve made a great choice. These modern fixtures save space and offer a sleek and contemporary look to your bathroom. To help you with the installation process, we’ve put together a comprehensive guide with step-by-step instructions.
Pre-Installation Preparation
Before you start installing your back-to-wall toilet, there are a few essential steps to take:
1. Handle with Care: Back-to-wall toilets are typically made of vitreous china, which can break or chip if mishandled. Handle the toilet with care during installation.
2. Compliance with Regulations: Ensure your installation adheres to local plumbing and building codes. Familiarize yourself with relevant standards to ensure compliance.
3. Inspect the Toilet: Before installation, carefully inspect the toilet for any damage that may have occurred during transit. If you notice any defects, contact your supplier immediately.
If you don’t want to do it yourself or facing any difficulties, click here to book our service at https://www.plumbersingapore.org/toilet-flush-installation/.
Identifying Parts and Configurations
Understanding the various parts and configurations of a back-to-wall toilet is crucial for a successful installation:
– Inlet Configuration: Determine whether your toilet requires a side or top rear entry for the water supply.
– Cistern Configuration: Different toilets may have bottom inlet or top rear entry cistern configurations, each requiring specific installation steps.
Preparing for Installation
Once you’ve identified the type of installation required for your toilet, follow these preparatory steps:
1. Checking Shut-Off Valve Position: Ensure the shut-off valve is positioned correctly for side entry installations.
2. Positioning the Cistern: Place the cistern on the pan, making sure to centre the gasket on the pan inlet. Securely tighten the screws to level the cistern.
3. Connecting Supply Hose: Attach the supply hose to the cistern inlet and feed it through the appropriate hole in the pan.
Installing the Toilet
With the preparations complete, proceed with the installation of the toilet:
1. Connector Placement: Position the connector between the outlet and waste pipe, ensuring proper alignment.
2. Fixing the Toilet: Drill fixing holes on the floor per the provided template. Insert anchors where required and fix the brackets securely to the floor.
3. Connecting the Toilet: Place the toilet in the marked location and ensure a secure connection with the pan connector. Use plastic screw sleeves and screws to fix the toilet to the brackets.
4. Final Checks: Insert capping plugs into any unused holes in the pan. Test the system for leaks by connecting the supply hose to the shut-off valve.
Completing the Installation
After installing the toilet, ensure all final steps are completed for a finished look:
1. Installing the Seat: Follow the instructions to install the seat, ensuring proper fit and alignment.
2. Applying Sealant: Apply a suitable sealant between the pan and adjacent surfaces for a watertight seal.
3. Button Installation: Install the flush buttons according to the provided instructions, adjusting the rods as needed.
4. Final Checks: Test the system for leaks last time and ensure all components function correctly.
With this guide, you can confidently install a back-to-wall toilet in your bathroom, creating a modern and efficient space. If you encounter any difficulties during installation, don’t hesitate to seek professional assistance from PS Plumber Singapore.